CANVAS PRINT FRAMING TUTORIAL
In this tutorial, I am going to show you how to frame art prints with and without a mat! I will be framing an 8x10 and 16x20 print but this concept applies to any size and in any frame. Let’s get started!
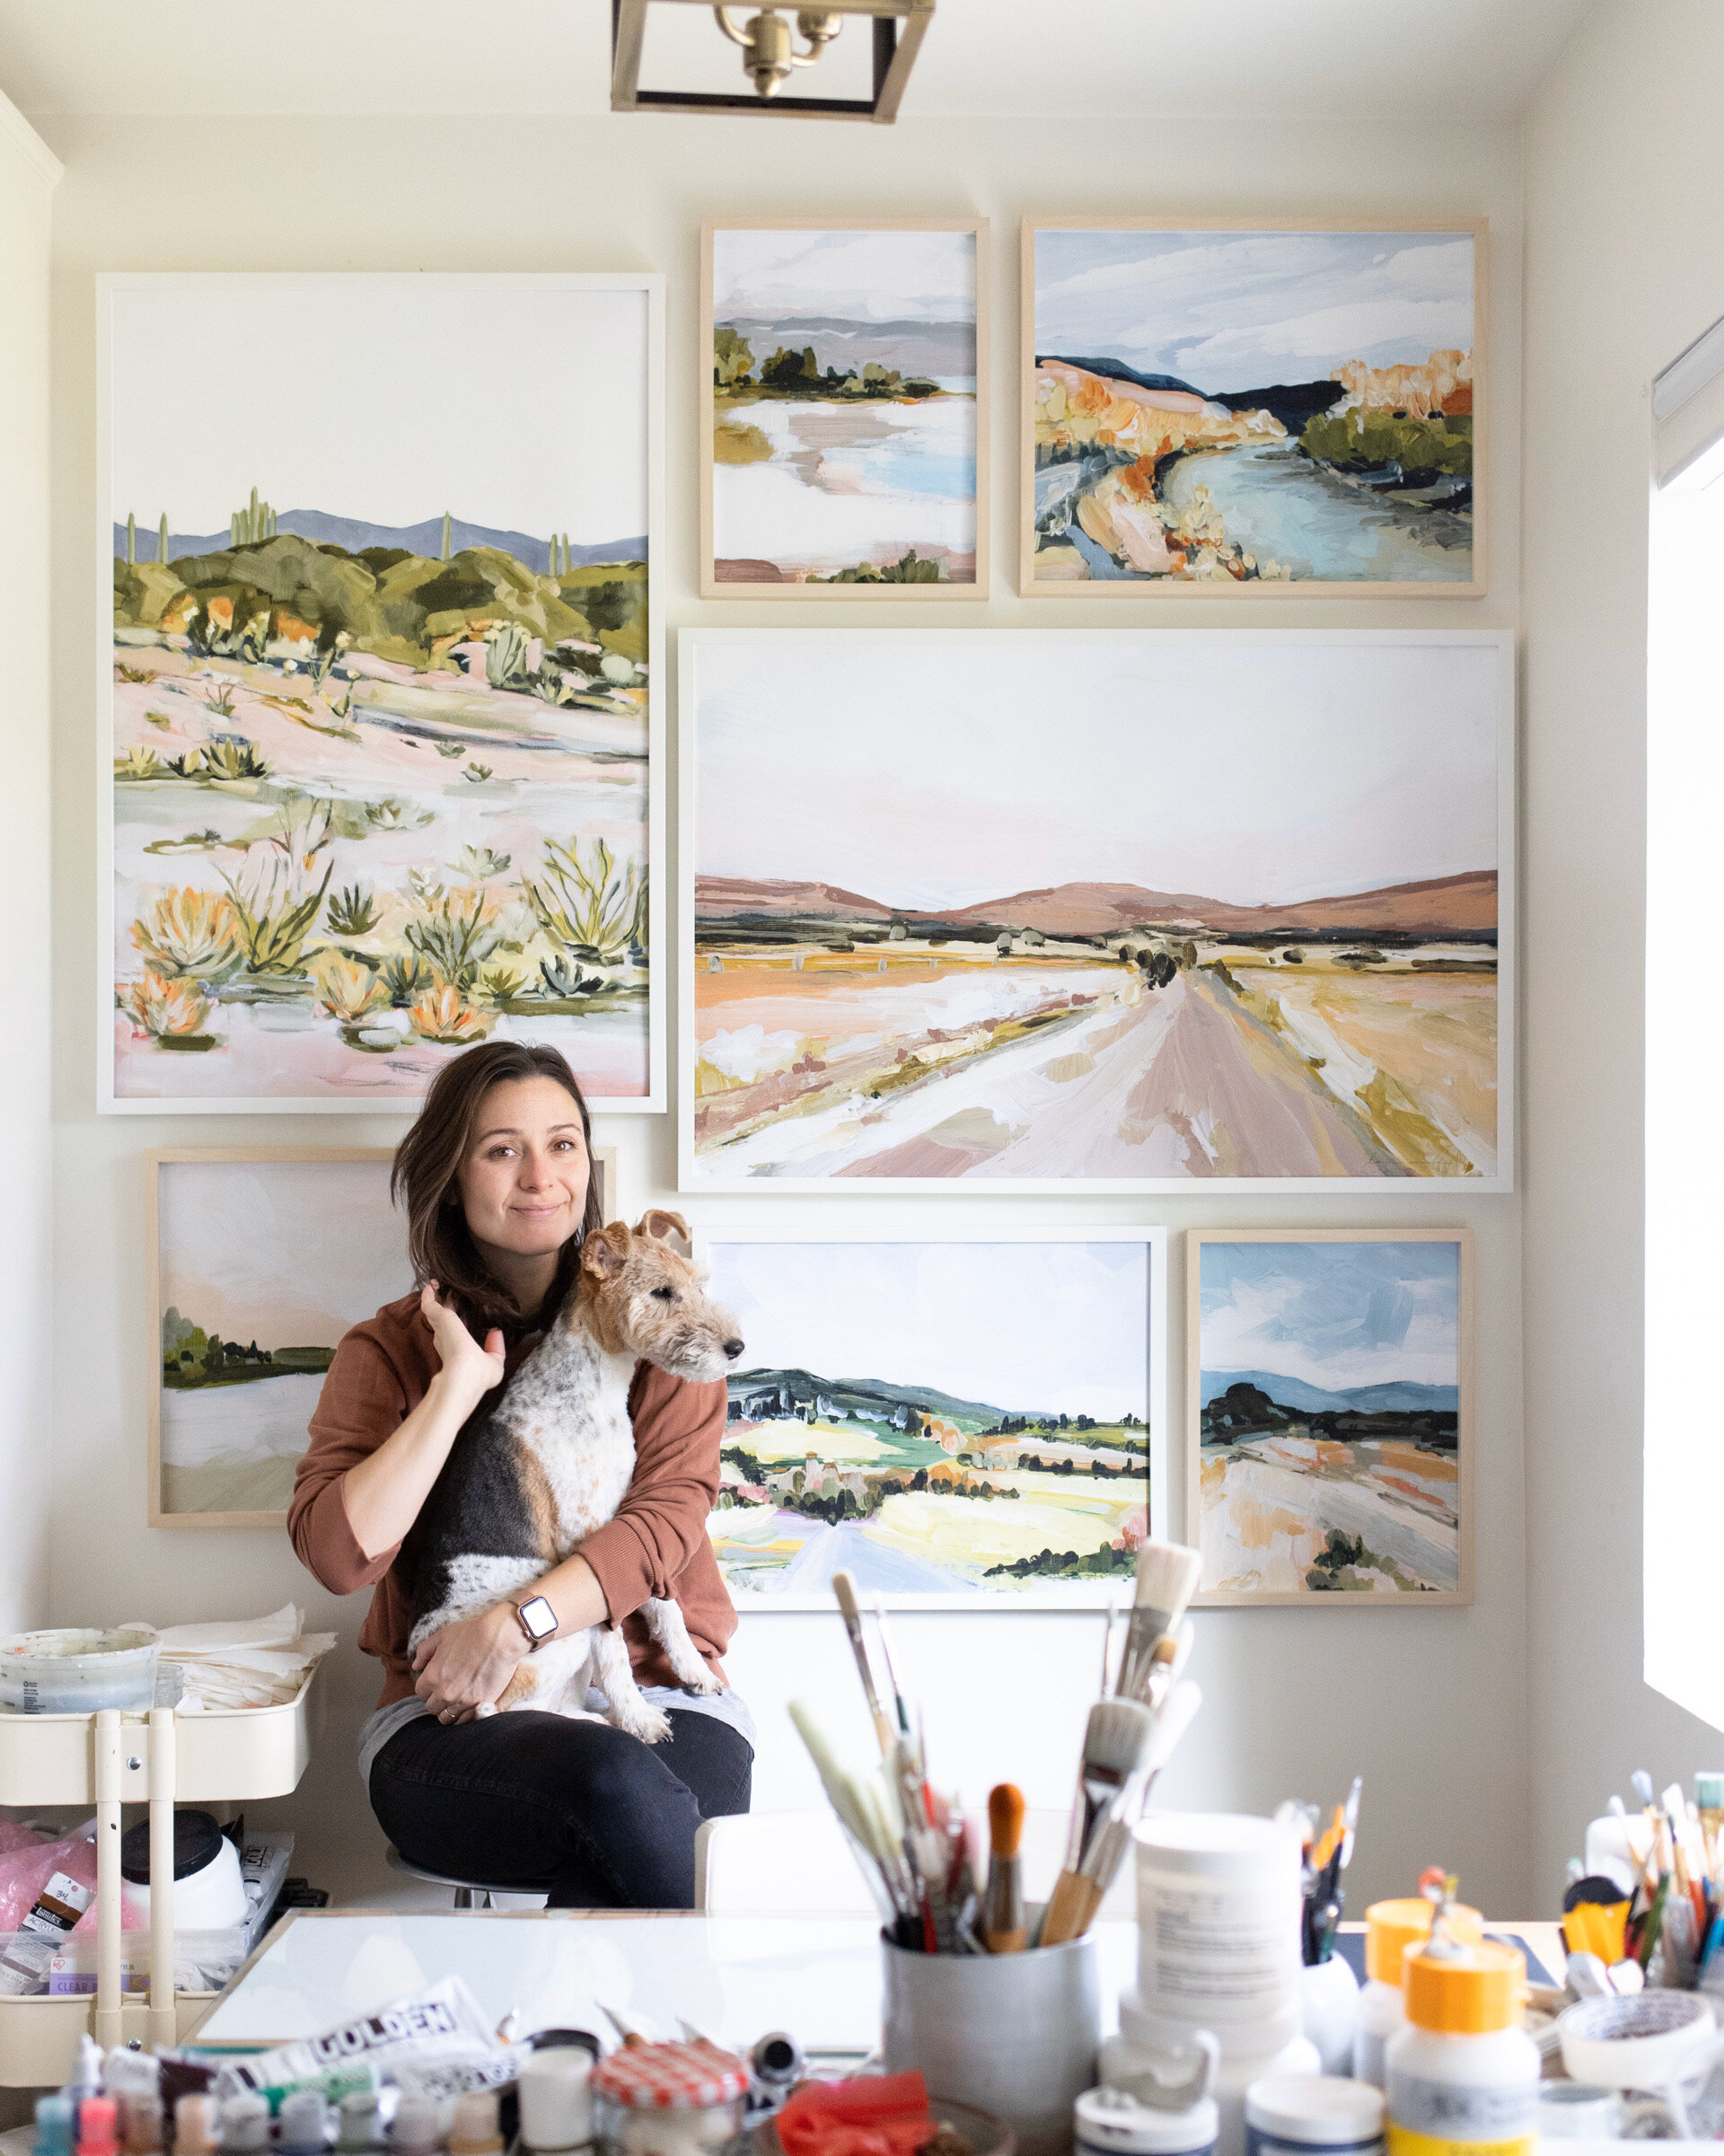
Click here for my favorite frames up to 24x36.
What you need:
-
An art print
-
A frame (I am using an ikea frame here that is no longer available).
-
Scissors
-
Acid free tape (for framing with a mat)
-
Double sided acid free tape (framing without a mat) Please note: for a more permanent mount, I recommend taking your print to a local framer and having them mount the print to gator board or masonite using Miracle Muck and rolling it thru a pressure roller without heat.
-
Flat head screw driver (Optional: to bend tabs on the back of the frame)


Framing without a mat and without glass:
Remove the glass from the frame. Since we are not using a mat, you will tape the print directly to the frame backer. Cut your double sided tape and apply it all around the edges of the frame backer. Once you have them all placed, peel the paper backing from the tape. Line up the print to the frame backer and then with clean hands, apply pressure around the edges to secure the print to the frame backer. Once secure, pop it back into the frame and enjoy your beautiful newly framed print!


